
Prepping Tips: How to “Can” Butter
After a couple of weeks of severe military stuff, let’s take a break this week and give you another excellent prepper tip.
So you’ve got all of your food preps ready? If you’re like me, probably not — but there is no time like the present to start.
Do you remember fat? No? Well, what are you going to put on your toast, lantern oil?
How about butter? Just think about all the things you use butter in. It can be stored just like other items. And when the SHTF and supply chains get disrupted, you’ll be glad you took the time to do it.
It’s easy!
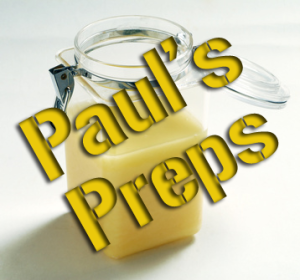
- It’s a good idea to purchase butter when it’s on sale. No need to buy anything fancy. You’ll also need some one-pint Mason jars, rings, and domes. One pound of butter will more than fill a one-pint Mason jar. Ten pounds of butter will require eleven jars.
- Thoroughly wash and dry the jars.
- Heat the oven to 250 degrees and place the jars inside to kill microbial nasties.
- Simmer the lids in a pot of water on the stove as usual.
- Now, melt the butter in a large pot. Bring it to a boil, and stir it occasionally so it doesn’t scorch on the bottom. Simmer the butter for a few minutes. Keep stirring, and you want it not to separate though it will have the tendency to do so.
- Next, use a ladle and a canning funnel to fill the jars. Be sure to leave an inch of headspace so that you can shake the jars as they cool to keep them homogeneous.
- Wipe the jar rims, and seal them with the domes and rings.
- As your jars cool, the tops will pop down, indicating a proper seal.
- Now, every few minutes, shake the jars well to keep the melted butter’s consistency even throughout the jars. Again, it will have the tendency to separate.
- Once the jars have cooled off until they are just slightly warm, place them in the refrigerator for five minutes or so. Shake again, and keep shaking every five minutes until the butter is firm.
That’s it; you’re all finished! Store your new prep in your pantry. Stored in a cool, dry place, your canned butter will last for years.
Use canned butter just like you would regular butter. It’s great over pancakes, cream of wheat cereal, toast, waffles, rice, potatoes, eggs, and more. You may want to make more than you think you’ll need, as it may be a very valuable barter item.